
Adding nodes (scaling out)
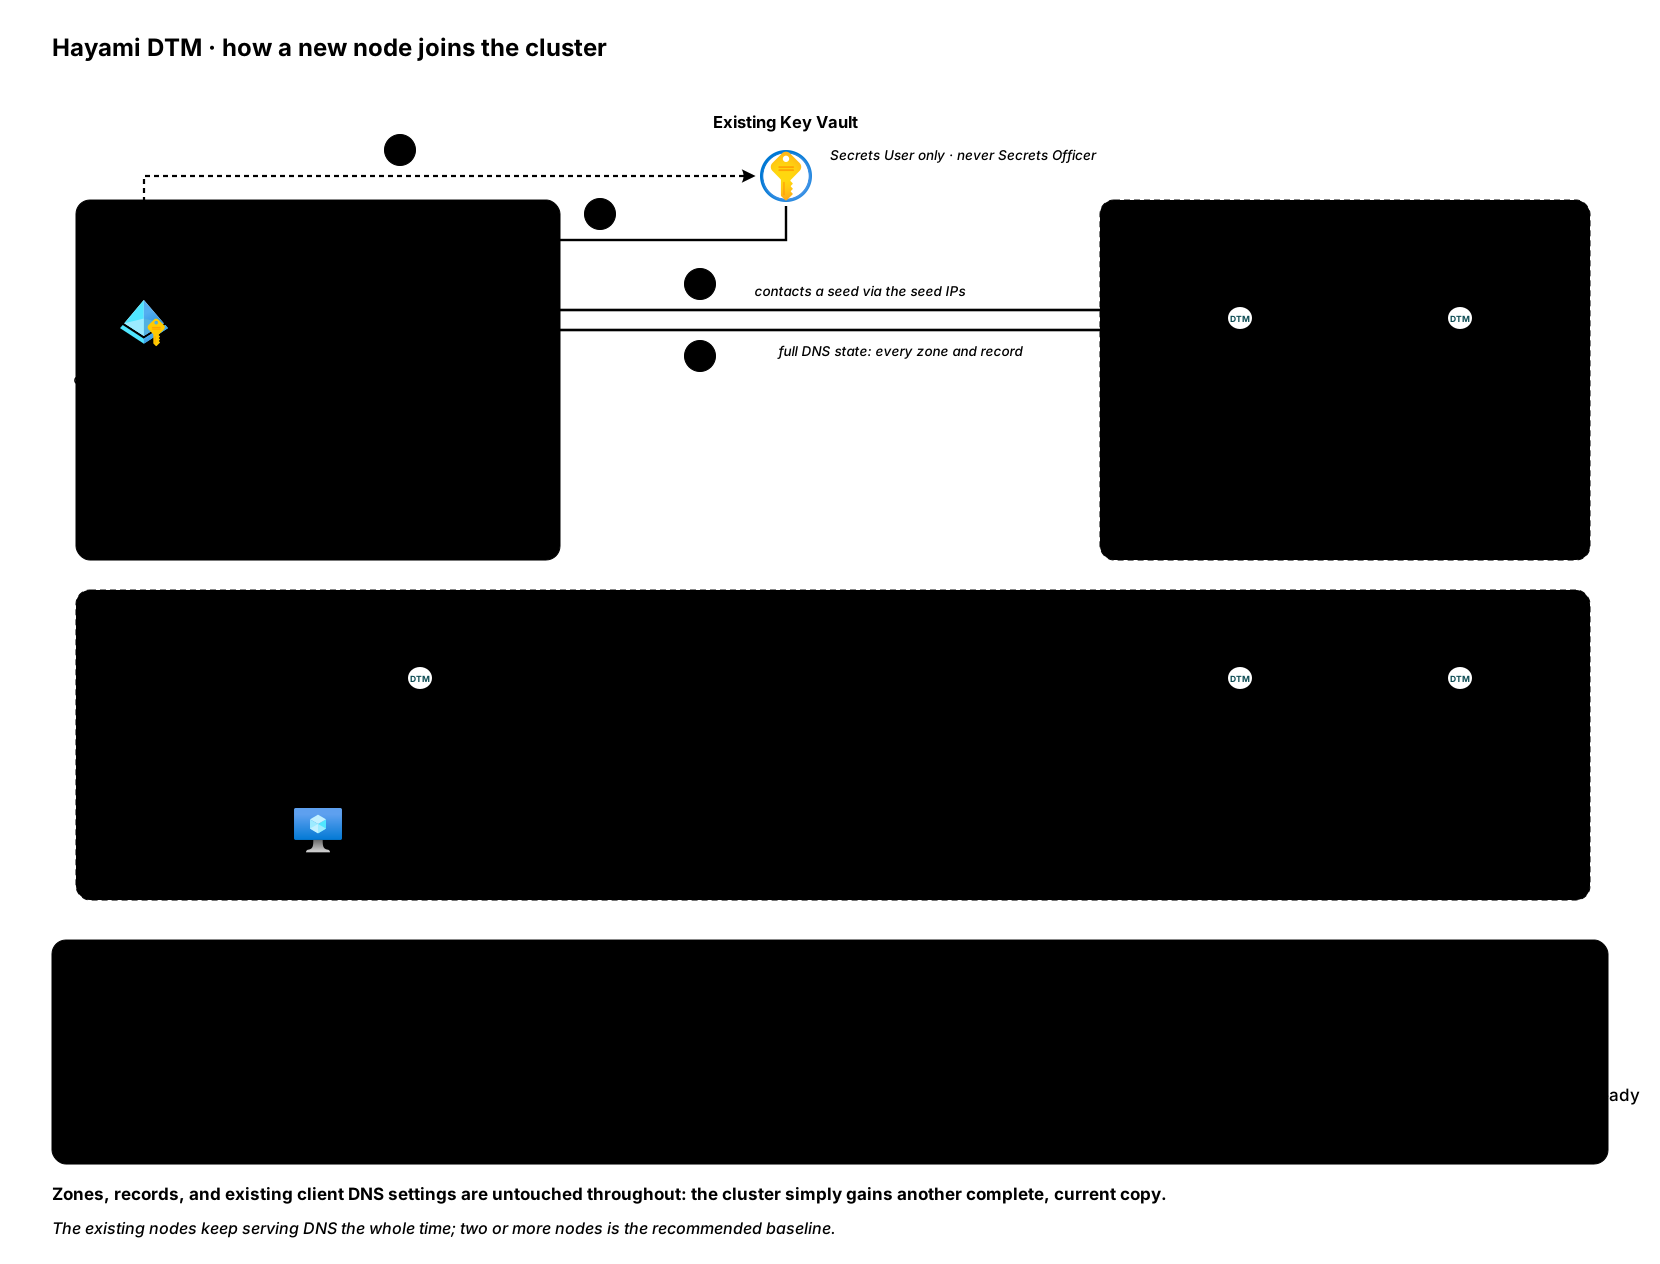
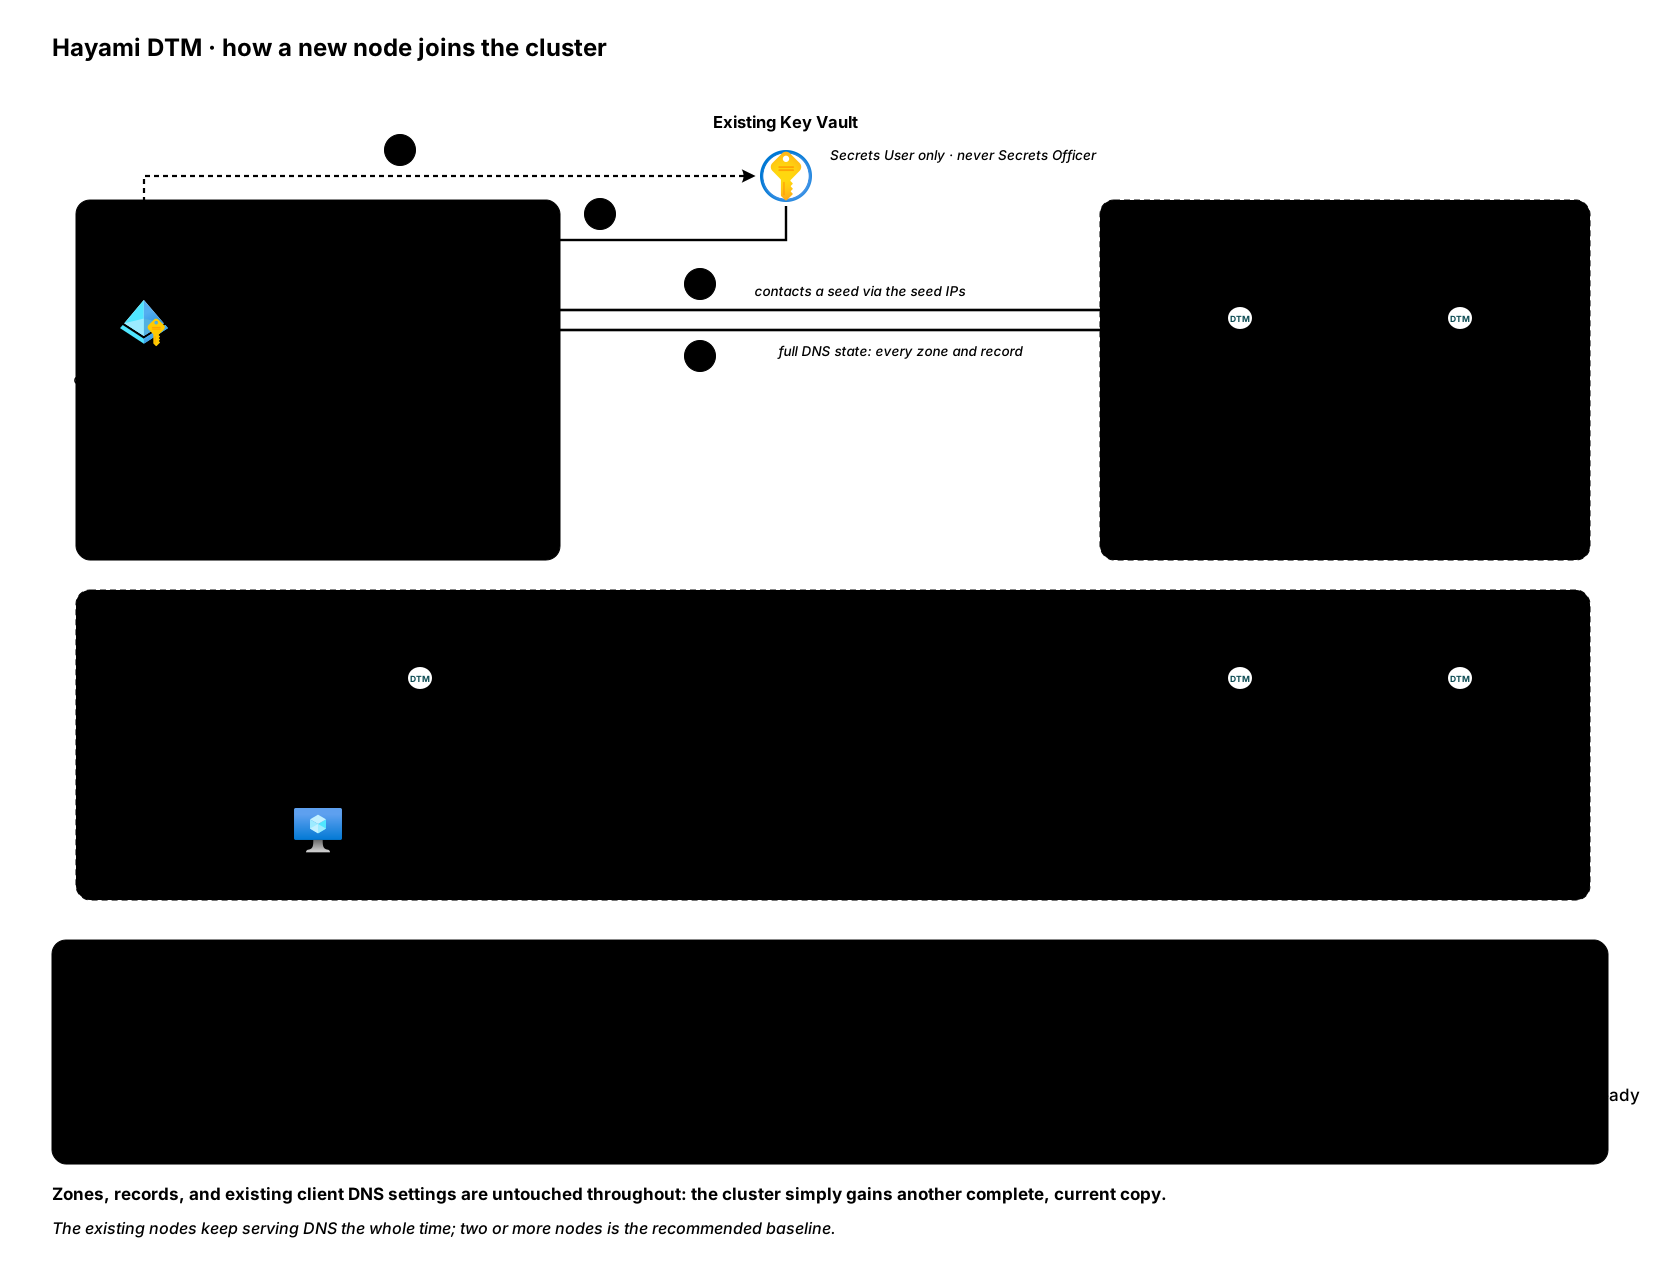
Adding a node is how you scale Hayami DTM. It adds both capacity (more query and update throughput) and resilience (more nodes that can fail without taking DNS down). A new node joins the existing cluster, replicates the full DNS state, and starts answering queries; nothing about your zones or records changes.
You add nodes the same two ways you deploy: from the Azure Marketplace (the add-node template) or with Terraform. Either way, the new node receives the same managed-identity grants and reads the existing cluster’s secrets from Key Vault, so it comes up as a full member of the cluster you already have.
Before you start
Section titled “Before you start”- A healthy cluster. Confirm every existing node reports
alivebefore you add another (see Verify the cluster). - The existing cluster’s subnet, its Key Vault, and one or more existing node IPs to use as seeds. The new node contacts a seed to join.
- The same deployment permissions as the first deploy: rights to create resources and to assign roles in the target resource group.
How a new node joins
Section titled “How a new node joins”However you add it, the new node:
- gets its own system-assigned managed identity, granted Key Vault Secrets User on the existing vault plus Reader and Contributor on the resource group, the same rights every other node already has;
- reads the existing cluster secrets from Key Vault (administrator
password and cluster encryption key; on Terraform deployments the
management TLS bundle is also shared via the
dtm-tlssecret, while Marketplace nodes generate their own self-signed certificate at first boot). It does not get Key Vault Secrets Officer and does not regenerate secrets: only the original primary node ever generated them (see how the cluster’s secrets are created); - joins via the seed IPs you point it at, then replicates all zones and records from the cluster.
From the Azure Marketplace (add-node)
Section titled “From the Azure Marketplace (add-node)”Deploy the add-node template and point it at the cluster you already have.
The running cluster serves its own copy of the template from the Lifecycle
page (/lifecycle/add-node-template.json when signed in to the UI), so the
template you deploy always matches the image version you are running. Point it
at:
- the existing cluster’s subnet,
- its Key Vault, and
- one or more existing node IPs as seeds.
The template creates a new VM, data disk, NIC, managed identity, and NSG, and grants the new node’s identity read access to the existing Key Vault plus Reader and Contributor on the resource group. On first boot the node reads the shared cluster secrets and joins through the seed IPs.
One step to confirm: the existing nodes’ NSGs should name the new node’s IP
on the cluster port (7946). On a single-region deployment the inbound
cluster rule defaults to the VirtualNetwork service tag, so any placement in
the same VNet (or a peered VNet) is already covered. On a dual-region
deployment the rule lists the existing nodes’ individual IPs: add the new
node’s IP to each existing node’s port 7946 (TCP and UDP) rules so the
allowlist stays meaningful and keeps working if the default VNet rules are
ever tightened. And if the new node stays not-ready (/readyz 503),
cluster-port reachability between it and the existing nodes is the first
thing to check.
With Terraform
Section titled “With Terraform”Add another node to your DTM configuration and apply:
- add one more node module block, or
- raise the node count if your configuration is written that way.
terraform planterraform applyTerraform provisions the new node with the same identity grants as the existing ones. On first boot it reads the existing administrator password and cluster encryption key from Key Vault (only the primary ever generates them) and joins via the existing nodes’ IPs. Because every node shares one Key Vault and one cluster encryption key, the new node comes up as a full cluster member with no further configuration.
Verify the new node
Section titled “Verify the new node”Check the new node is ready:
# 200 = ready to serve; 503 = still starting or joiningcurl -sk https://<new-node-ip>:8443/readyzThen confirm every node, including the new one, reports alive over the API (see
Verify the cluster for how to capture a
token), and that the new node answers DNS:
dig @<new-node-ip> <a-known-name> +shortOnly once the new node reports ready and is answering correctly should you add its IP to your VNet DNS settings or resolver forwarding rules.
Next steps
Section titled “Next steps”- Removing nodes (scaling in): the reverse procedure, in the order that keeps clients resolving.
- Rolling upgrades: upgrade the larger cluster one node at a time with no downtime.
- Load-balancing methods: put the added capacity to work.
- Observability: watch the new node in Prometheus and Grafana.