
Removing nodes (scaling in)
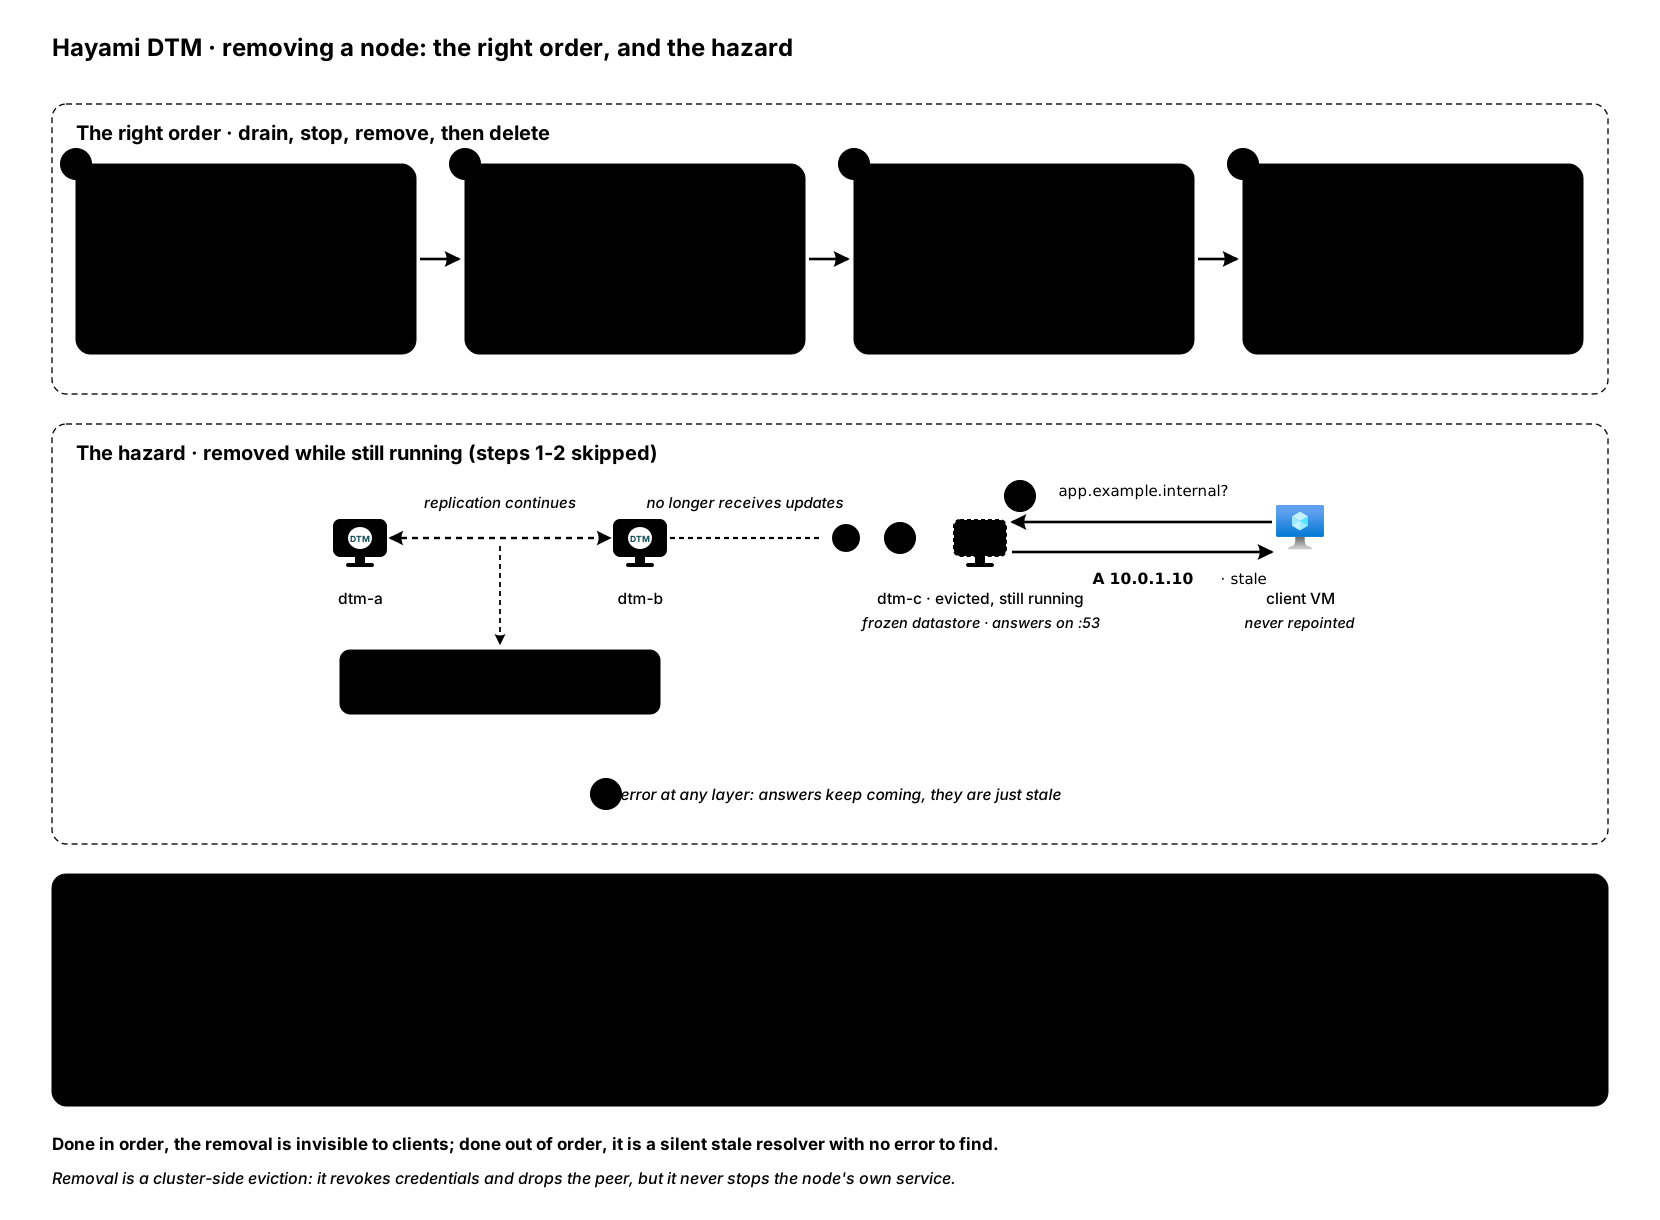
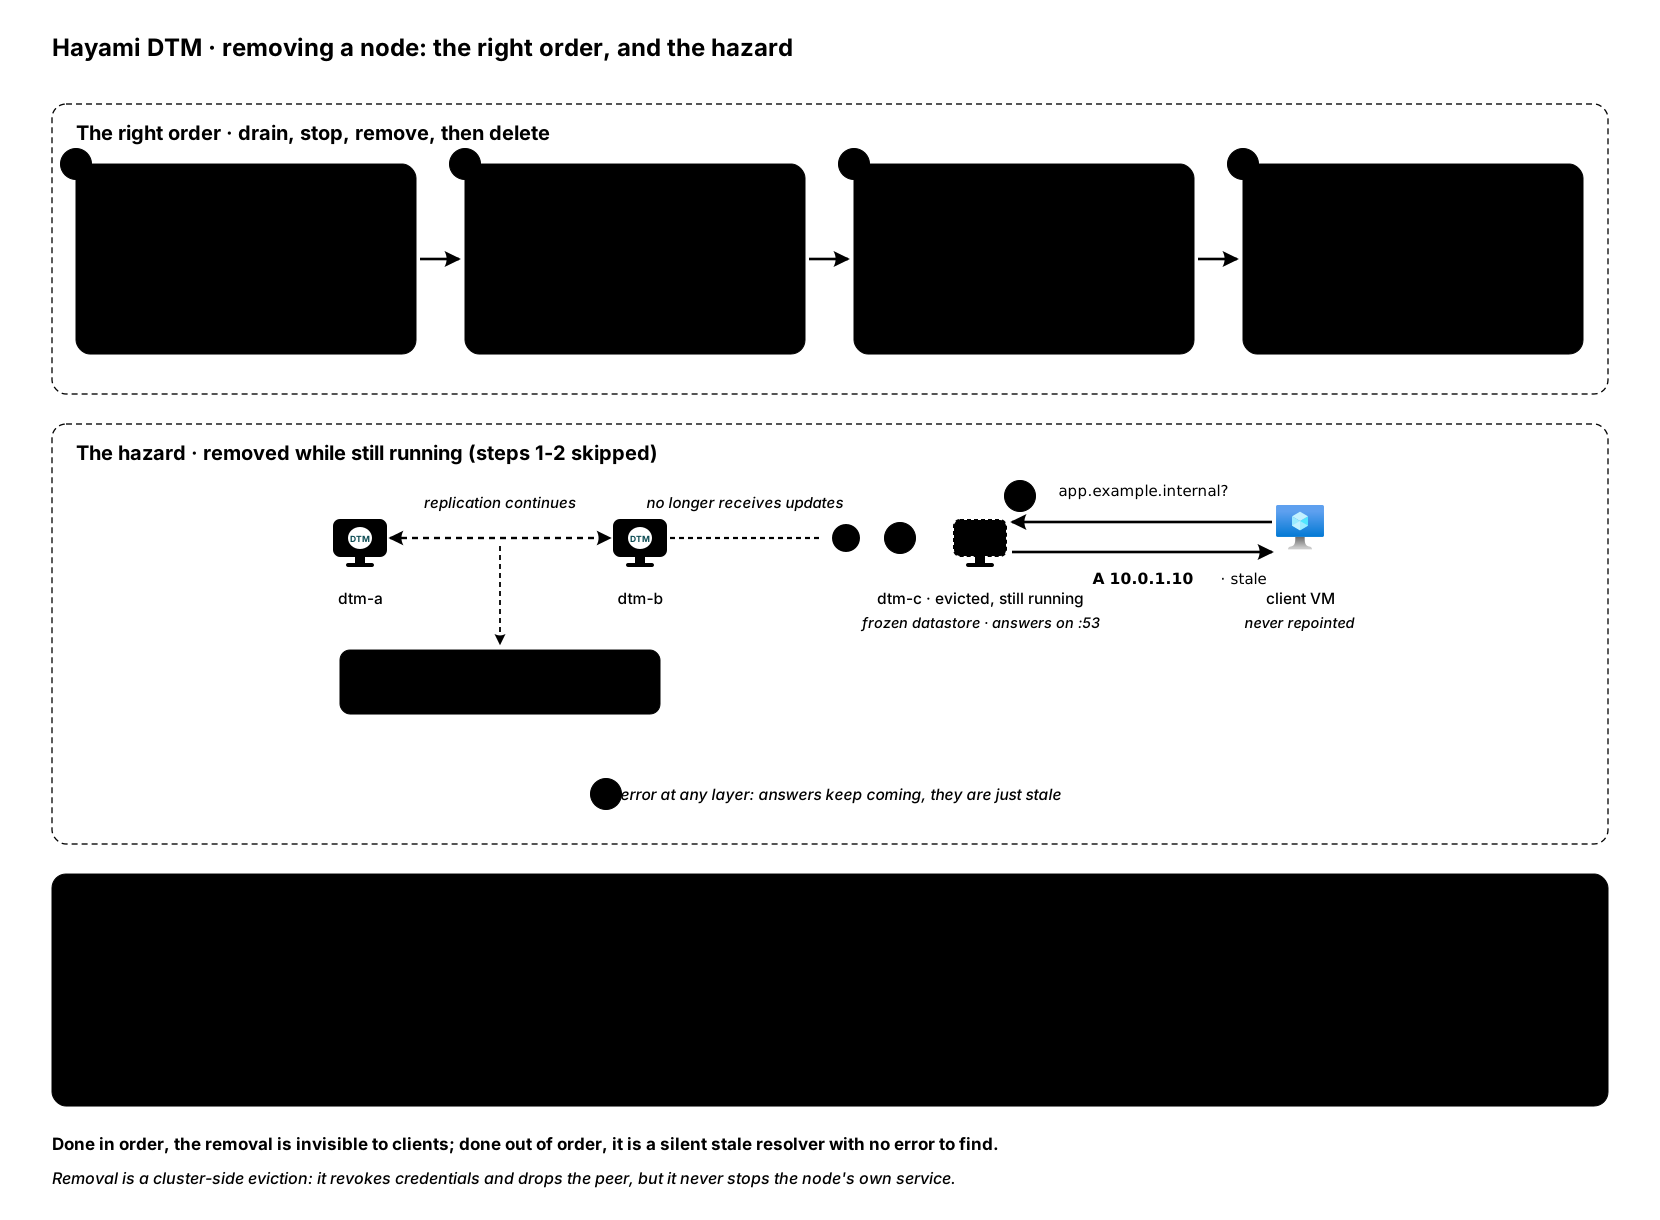
Removing a node is the reverse of adding one: scale in after a migration peak, dispose of a failed VM, or retire capacity you no longer need. Done in the right order it is invisible to clients. Done in the wrong order it silently breaks resolution for every VNet that still lists the removed node’s IP as a DNS server, so the order below matters.
Before you start
Section titled “Before you start”- A healthy cluster: every node you are keeping reports
alive(see Verify the cluster). - Know everywhere the node’s IP appears: VNet DNS server lists, resolver forwarding rules, NSG rules that list node addresses individually, and the seed lists in your Terraform configuration.
- Plan to call the API on a node you are keeping. A node refuses to remove itself, so the request must go to one of the remaining nodes.
Step 1: drain client DNS traffic
Section titled “Step 1: drain client DNS traffic”First, remove the node’s IP from every VNet DNS server list and any resolver forwarding rule that points at it (this is the reverse of the last step of adding a node). Then give clients time to move off it: watch the node’s queries per second fall on the Dashboard before continuing.
Skipping this step is the classic failure: the node disappears while VNets still list its IP, and clients that picked it keep timing out until their resolver fails over.
Step 2: stop the node
Section titled “Step 2: stop the node”Stop the VM from the Azure portal or CLI; no shell is needed:
az vm stop -g <resource-group> -n <vm-name>The guest shutdown delivers SIGTERM and DTM exits gracefully (/readyz
flips to draining first, so anything polling readiness sees it go).
Stopping just the service (sudo systemctl stop dtm-server) works too, but
that is break-glass SSH access; routine removal never needs it.
Either way, the remaining nodes notice within seconds and mark it failed. DNS keeps being answered by the nodes you kept; nothing about your zones or records changes.
Step 3: remove it from the cluster
Section titled “Step 3: remove it from the cluster”Remove the stopped node from the Nodes page in the UI, or over the API from
a remaining node (admin role; capture the $DTM_TOKEN bearer token per the
API overview). The UI asks you to type the
node’s name to confirm and restates the consequences; either way, the removal
is recorded in the audit log.
# Find the node's idcurl -sk https://<remaining-node>:8443/api/v1/nodes \  -H "Authorization: Bearer $DTM_TOKEN"
# Remove itcurl -sk -X DELETE https://<remaining-node>:8443/api/v1/nodes/<id> \  -H "Authorization: Bearer $DTM_TOKEN" \  -H "X-DTM-CSRF: 1"
Cleanup completes within about 30 seconds. Removal also revokes the departed node’s cluster credentials, so any API token that was issued by that node stops being accepted cluster-wide: if automation signed in against the removed node, sign it in again against a remaining one.
Step 4: delete the Azure resources
Section titled “Step 4: delete the Azure resources”- With Terraform: remove the node’s module block (or lower the node count),
then
terraform planandterraform apply. Update any seed list that referenced the removed node’s IP. - In the portal: delete the VM, its OS and data disks, and its NIC. If an NSG cluster rule lists node addresses individually, remove the node’s IP from it. The VM’s system-assigned managed identity is deleted with the VM, but its role assignments (Key Vault Secrets User on the vault, Reader and Contributor on the resource group) are left behind as orphans; tidy them up under the resource group’s access control (IAM).
Verify
Section titled “Verify”From a remaining node, confirm the removed node is gone and everything you kept is healthy:
# Removed node absent; every remaining node alivecurl -sk https://<remaining-node>:8443/api/v1/nodes \  -H "Authorization: Bearer $DTM_TOKEN"
# Each remaining node still answersdig @<remaining-node-ip> <a-known-name> +short
Then spot-check that a client in each affected VNet resolves normally.
What changes when the cluster shrinks
Section titled “What changes when the cluster shrinks”- Answers follow membership. The apex
NSrecords and glue reflect live cluster membership, so answers stop listing the removed node automatically; no zone edits are needed. - Failure tolerance shrinks too. Going from three nodes to two keeps failover, but the cluster no longer tolerates a second concurrent failure.
- Retiring a whole region: drain that region’s node IPs from client DNS settings first, then either remove its nodes one at a time as above or tear down the region’s resource group as described in Deploy.
Next steps
Section titled “Next steps”- Adding nodes (scaling out): the reverse procedure.
- Rolling upgrades: replace a node without changing its IP.
- Observability: watch the remaining nodes take up the load.