
Deploy from the Azure Marketplace
Hayami DTM is delivered exclusively through the Azure Marketplace and runs inside your own subscription. Deployment provisions a small cluster of Linux VMs in a VNet you choose; DNS queries and answers never leave your environment.
This page covers the deployment at an operator level. The Marketplace offer walks you through the parameters; the notes below explain what each one is for and how to confirm the result.
Before you start
Section titled “Before you start”- An Azure subscription and a target resource group, with enough rights to both create resources and assign roles there. See Deployment permissions below; this is the most common reason a first deploy fails.
- A VNet for the DTM nodes and a free address range: the deployment creates a small dedicated subnet in that VNet, which your other VNets can reach for DNS.
- A decision on cluster size. Run two or more nodes for high availability and zero-downtime upgrades. A single node has no failover.
- A decision on your cluster boundary. Every node in a cluster must be able to route to every other node: replication is peer-to-peer, with no leader and no proxy, so one cluster spans exactly one routable domain (a VNet, peered VNets, or VNets joined by a transit connection such as hub-and-spoke or Virtual WAN). Estates that cannot reach each other need a separate cluster each; a node that cannot reach its peers keeps serving DNS from its own copy while quietly diverging, so this is a plan-it-up-front decision, not a recoverable-later one.
Deployment permissions
Section titled “Deployment permissions”Deploying DTM does two distinct things in your target scope: it creates resources (VMs, a managed identity, a Key Vault, disks, a NIC, and an NSG), and it creates role assignments to grant each node identity the roles it needs (see the rights table below). You need permission for both.
In Azure terms that means Owner, or Contributor plus User Access Administrator, on the target resource group or subscription.
What the deployment creates
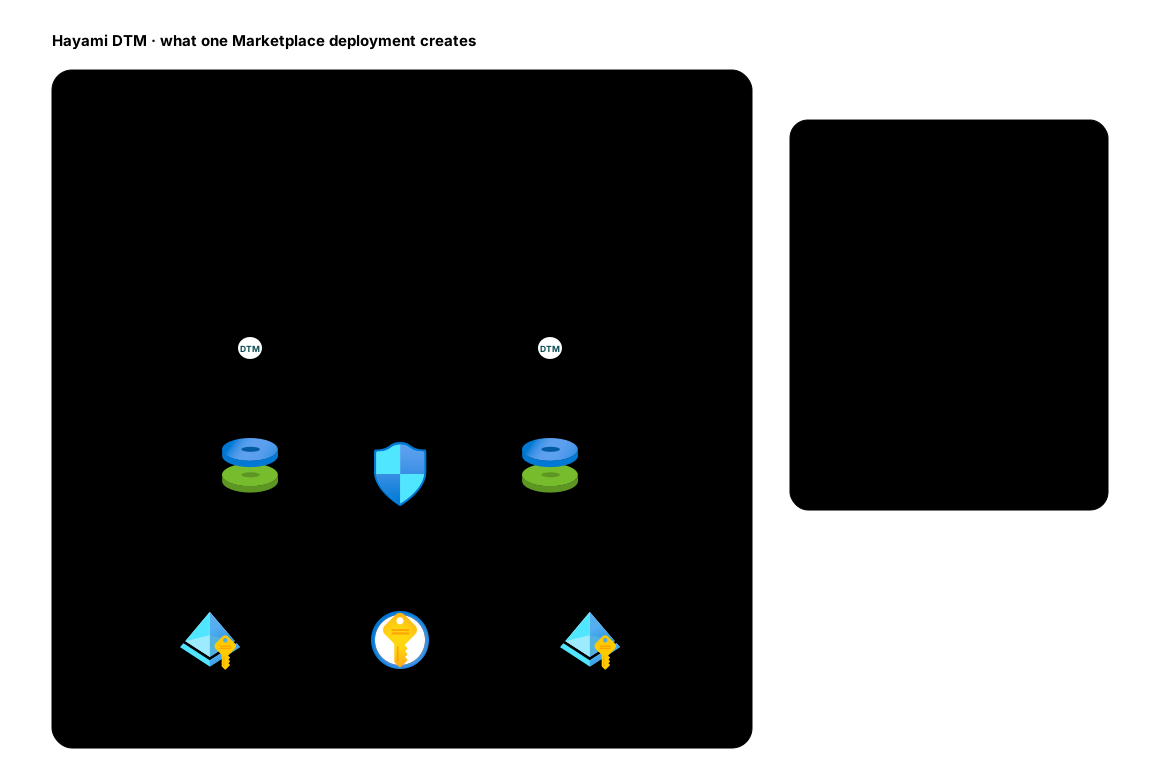
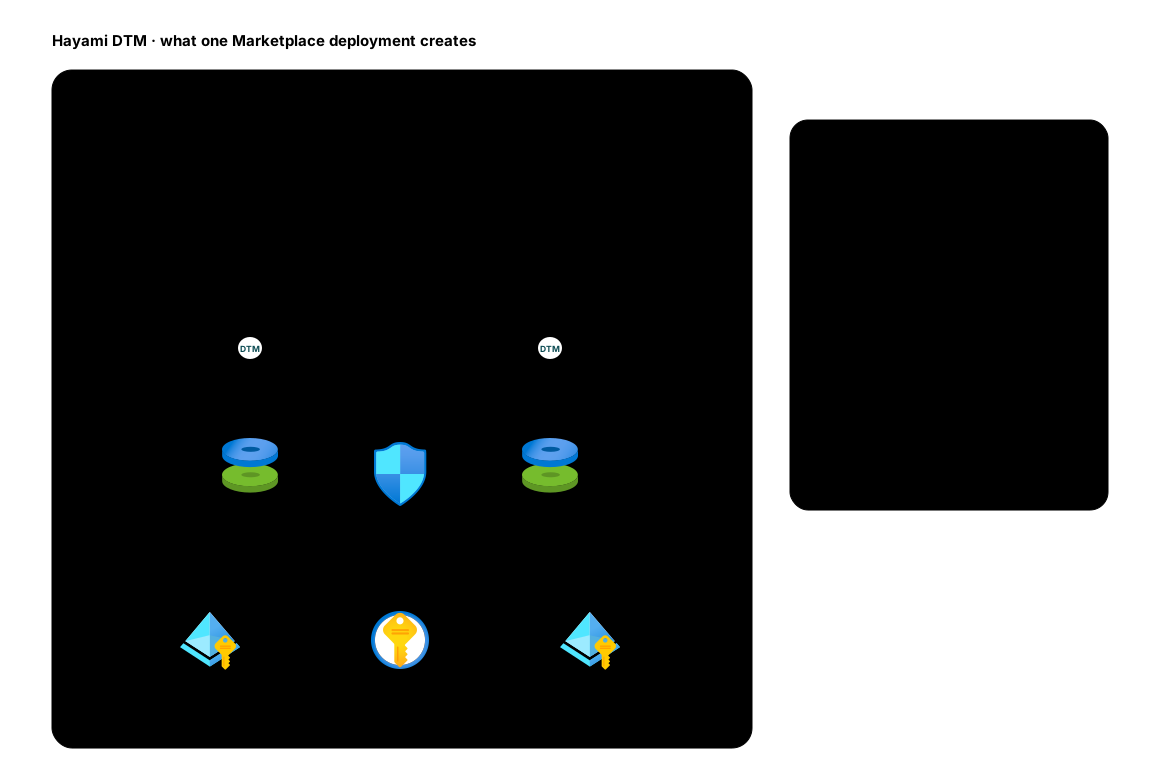
Section titled “What the deployment creates”Everything DTM needs lands in one resource group (see the recommended layout):
- DTM nodes (Linux VMs) running the
dtm-serverservice, joined into one cluster. - A dedicated Premium SSD data disk per node, attached automatically and mounted at the database path. See Sizing and storage.
- A Key Vault, dedicated to the deployment, holding the cluster’s secrets and TLS material.
- One system-assigned managed identity per node: the node’s own Azure identity, with no secret to store or rotate. Its rights are listed below.
- A network security group (NSG) that admits the DTM ports from inside your network only. See Network access.
- Stable private IPs for the nodes, so client DNS settings never need to change across upgrades or node replacements.
- The role assignments each node identity needs (the table below).
There are no public IPs. DTM runs entirely on private addresses inside your VNet.
What the managed identity can do
Section titled “What the managed identity can do”Each node authenticates to Azure as its own system-assigned managed identity, so there are no credentials stored on disk. The deployment grants that identity exactly the roles the node needs and nothing more:
| Role | Scope | Why the node needs it |
|---|---|---|
| Reader | The DTM resource group | Region discovery: region-aware load balancing enumerates which region each node is in. |
| Contributor | The DTM resource group | Lifecycle and stable-IP failover: the cluster can reassign a node’s private IP so DNS endpoints stay stable when a node is replaced. |
| Key Vault Secrets User | The deployment’s Key Vault | Every node reads the cluster secrets and TLS material from the vault on boot. |
| Key Vault Secrets Officer | The deployment’s Key Vault | The primary node only, so it can publish the secrets it generates on first boot. |
The Contributor grant is deliberately scoped to the DTM resource group alone, so the cluster can only ever act on its own resources. That is one reason to give DTM a resource group of its own.
How the cluster’s secrets are created
Section titled “How the cluster’s secrets are created”On the Marketplace appliance, the cluster’s shared secrets, the initial administrator password and the cluster encryption key, are generated on the VM at first boot, written to Key Vault, and never exposed in the deployment template or its outputs. The primary node generates them and publishes them to the vault (that is what its Key Vault Secrets Officer grant is for); every other node reads the same values back with its Key Vault Secrets User grant, so the whole cluster shares one set. The management TLS certificate is generated locally on each node at first boot on this path and is not stored in the vault.
The Terraform path handles the administrator password
and the cluster encryption key the same way, generating them on the node and
into Key Vault so they never land in Terraform state, and additionally has
the primary publish a shared UI TLS bundle to the vault (the dtm-tls
secret) that the other nodes read, so that path serves one cluster-wide UI
certificate. See Terraform provider setup for the
details.
For the life of these secrets after day one, see rotating secrets and TLS certificates (the first-boot certificate is valid for two years).
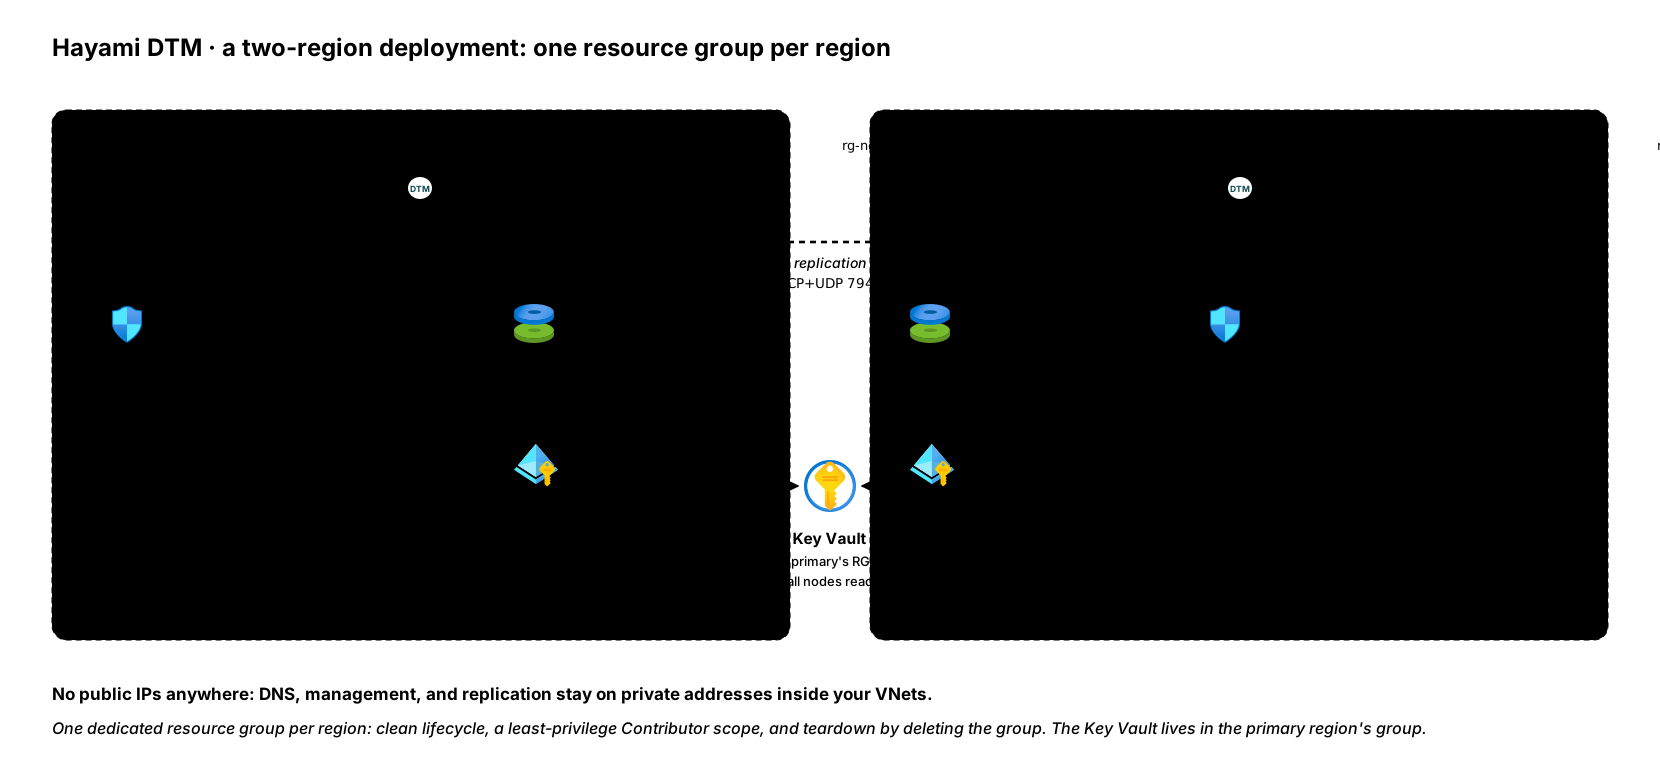
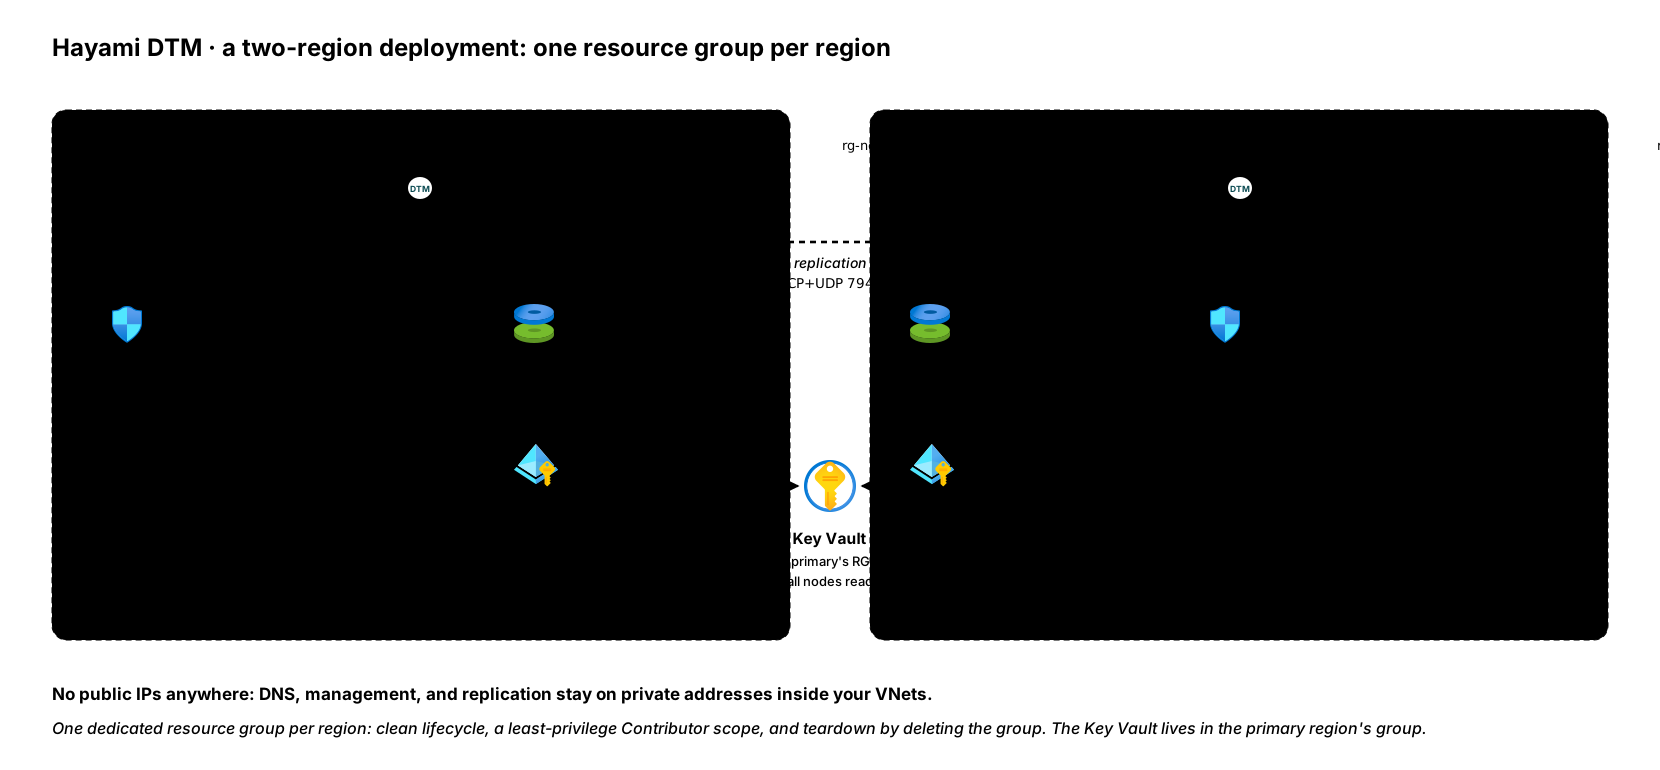
Recommended: a dedicated resource group per region
Section titled “Recommended: a dedicated resource group per region”Give DTM its own, new resource group for each region it runs in, holding all of that region’s DTM resources. It keeps things clean in three ways:
- Clean lifecycle. DTM’s resources are not tangled up with anything else.
- Least privilege. The node identity’s Contributor grant only ever covers DTM’s own resources, never your wider estate.
- Simple teardown. Removing a regional deployment is just deleting its resource group.
For a two-region deployment, that means one dedicated resource group per region. Here is what a two-region deployment looks like:
Sizing and storage
Section titled “Sizing and storage”Each node runs on Standard_D2s_v5 (2 vCPU, 8 GiB) by default, the smallest size that supports Accelerated Networking for line-rate DNS. Larger sizes suit higher query or dynamic-update rates, though the cluster also scales horizontally: adding nodes is the usual way to add both capacity and resilience.
Each node keeps its full copy of DNS state in a single embedded database on a
dedicated Azure Premium SSD managed disk mounted at /var/lib/dtm, attached
automatically by the deployment:
| Setting | Default | Why it matters |
|---|---|---|
| Disk type | Premium SSD (managed) | Durable; survives stop, restart, and host maintenance. |
| Size | 64 GiB | For durability and compaction headroom, not raw capacity. |
| Redundancy | Locally redundant (LRS) | Zone-redundant (ZRS) where the region supports it. |
| Host caching | None | Every write reaches durable media before it is acknowledged. |
The database is never placed on the VM temporary disk, which Azure wipes on deallocation. Host caching is disabled so a write is durable the moment it is acknowledged, which is what protects your data from a host failure. A DNS control plane’s database is small (megabytes to a few gigabytes even for large estates), so the 64 GiB default leaves ample room for routine compaction; raise the disk to a larger Premium SSD tier if you need more IOPS. These are deploy-time defaults you can adjust, not settings you have to tune by hand.
Scaling the data disk
Section titled “Scaling the data disk”If you need more IOPS headroom, raise the deployment’s data-disk size parameter and re-apply. The resize is online: Azure grows the disk in place with the VM running, with no restart and no data movement. Moving from the 64 GiB default (P6) to 128 GiB (P10) doubles the IOPS budget, and 256 GiB (P15) roughly doubles it again. The same disk configuration and procedure apply to single-region and dual-region deployments.
Two things to know before you resize:
- Resize through the deployment parameter, never the Azure portal. A portal resize works at the time, but your template still records the old size, so the next deployment or apply tries to shrink the disk and Azure rejects it.
- Disks only grow. Azure managed disks cannot shrink, so start at the default and scale up when monitoring says you need it.
Most operators resize purely for IOPS, since the database itself stays small.
If you do want the added capacity available to the filesystem, grow it live
with growpart and resize2fs; no service restart is needed.
Network access (NSG)
Section titled “Network access (NSG)”DTM runs entirely on private IPs inside your VNet. The nodes are not assigned public IPs, and you should not add one: DNS and management stay on your private network, where your clients and administrators already are. Reach the nodes over the VNet, a peered VNet, or your existing private connectivity (VPN / ExpressRoute).
Open these ports to the appropriate sources on the subnet’s network security group:
| Port | Protocol | Purpose | Source |
|---|---|---|---|
53 |
UDP + TCP | DNS queries | Your VNets / DNS clients |
8443 |
TCP | REST API and management | Administrators / automation |
8080 |
TCP | Web UI (HTTPS; self-signed certificate at first boot, replaceable) | Administrators |
7946 |
UDP + TCP | Cluster replication between nodes | The DTM nodes only |
853 |
TCP | DNS-over-TLS (if enabled) | Your DNS clients |
443 |
TCP | DNS-over-HTTPS (if enabled; a dedicated listener serving only /dns-query) |
Your DoH resolver clients |
The deployment creates this NSG for you and scopes the management ports
(8443 and 8080) to the adminAddressPrefix parameter, which defaults
to VirtualNetwork (the whole VNet, including peered traffic). Tighten it to
the subnet or CIDR your administrators and automation actually use, such as a
jumpbox or management subnet. The deployment enforces the value with an
explicit deny rule, so once narrowed, other workloads inside the VNet cannot
reach the management ports even though they share the network.
First login
Section titled “First login”The deployment output tells you the API endpoint (for example
https://<node-ip>:8443), the web UI URL, and a
recoverAdminAccessCommand output that fetches the initial administrator
password for you (the Terraform starter’s equivalent output is
retrieve_admin_password_command; the Bicep dialect names it
retrieveAdminPasswordCommand).
The initial administrator is:
- Username:
admin - Password: generated on the primary node at first boot and written to the
Key Vault the deployment provisioned, as the secret
dtm-initial-admin-password. See how the cluster’s secrets are created.
Retrieve the password with the Azure CLI (or just run the
recoverAdminAccessCommand the deployment printed):
az keyvault secret show \ --vault-name <your-vault> \ --name dtm-initial-admin-password \ --query value -o tsvLog in to the web UI on port 8080 with admin and
that password. Change the initial password immediately, then create named
users with the least privilege each one needs. See
users and access.
Choose how you will manage DTM
Section titled “Choose how you will manage DTM”DTM has three management surfaces. Pick whichever fits how you work; you can use more than one, but manage any given object in a single place (see the Terraform notes on avoiding drift).
| Surface | Best for | Needs an API token? |
|---|---|---|
| Web UI | Interactive changes, browsing cluster state | No, just log in |
| Terraform | Declarative, version-controlled, repeatable config | Yes |
| REST API | Scripting and integrations | Yes |
Only the Terraform and REST API paths need an API token; web UI users never need one. The Quickstart walks each path through creating your first zone and record.
Deploying with Bicep
Section titled “Deploying with Bicep”For Bicep-first estates (Azure Landing Zones), DTM also ships Bicep entry
points that share the Marketplace templates’ parameters and contracts:
single-region, dual-region, and add-node under deploy/bicep/,
available from support (the HA Marketplace
topologies are ARM-only today),
with the same parameters (imageVersion, adminAddressPrefix,
dataDiskSizeGB, and friends), the same NSG rules, and the same
secrets-generated-on-the-VM contract. A regionDiscoveryEnabled parameter
(default true) controls whether the node runs
Azure region discovery;
setting it false also skips the local resource-group Reader grant, whose
only consumer is the discovery loop. Preview with
az deployment group what-if and deploy by copying the example parameter
file, editing its values, and pointing both flags at the same directory:
cp single-region/main.example.bicepparam single-region/main.bicepparam, then
az deployment group create -g <rg> -f single-region/main.bicep -p single-region/main.bicepparam.
The modules follow Azure Verified Modules conventions (tags, locks, extra role
assignments, diagnostics; telemetry off) but are not registry-published AVM
modules, and the Azure Marketplace offer itself remains the supported
packaging: Bicep is an authoring alternative, not a different product channel.
One extra template sits apart from the topologies: deploy/bicep/mg-grant/
grants Reader at management-group scope to your node identities, for
management-group discovery scopes.
It is separate because a role assignment can only be created at or below the
deployment’s target scope, and the topologies deploy into a resource group.
Deploy it after the cluster, with the principal IDs the topology outputs:
az deployment mg create \ --management-group-id <mg-name> \ --location <region> \ --template-file deploy/bicep/mg-grant/main.bicep \ --parameters principalIds="['<managedIdentityPrincipalId>']"--location only records where the deployment metadata lives; nothing
regional is created. The caller needs Owner or User Access Administrator at
the management group: Reader on it is not enough to grant Reader on it.
Bring your own resources (Terraform)
Section titled “Bring your own resources (Terraform)”By default the Terraform deployment creates everything DTM needs: a dedicated resource group, subnet, NSG, Key Vault, and system-assigned identities with their role grants. For estates where the platform team owns those, each is an independent bring-your-own toggle; bring only what your security model requires:
| You can bring | Toggles |
|---|---|
| Subnet and NSG | create_subnet / existing_subnet_id, create_nsg / existing_nsg_id (you own the rules DTM would otherwise manage) |
| User-assigned identity and Key Vault | create_identity / existing_identity_id, create_key_vault / existing_key_vault_id (a preflight checks the grants you pre-created) |
| Resource group | create_resource_group / existing_resource_group_name (advanced) |
(The VNet is always yours: the template only ever references an existing VNet, carving a dedicated subnet in it unless you bring that too.)
Two properties make this safe to adopt: the toggles are additive (all defaults means create-everything, exactly as before), and teardown only ever removes resources DTM created, never a resource group, VNet, Key Vault, or identity you brought; every role assignment DTM created on your scopes is cleanly removed, even when the scope itself is one you brought. The delivered artifacts include a prerequisites checklist covering what to pre-create and pre-grant for each tier, including a per-tier decision table; the least-privilege combination is bringing your own identity and Key Vault, which reduces the deploy principal’s requirement to plain Contributor.
Details worth knowing before you rely on them:
- The preflight fails fast, not silently. In BYO-identity mode,
applyruns a grant check before creating any VM and fails with a clear message if the identity lacks a write-capable Key Vault role on the BYO vault, turning an under-grant from an hour of silent boot retries into an actionable error. It shells out toaz, so run Terraform from a host with the Azure CLI logged in (Linux, macOS, WSL, or Cloud Shell). The RG-scoped Reader and Contributor grants are not preflight-checked (they can only be verified at runtime); apply them before the cluster boots or region discovery and the lifecycle orchestrator sit inert. - Shared resource groups widen the blast radius. The node identities get Contributor on the deployment resource group so the lifecycle orchestrator can swap VMs; on a shared BYO RG that grant spans everything else in it. Strongly prefer a dedicated RG per region plus a BYO identity, so the grant is scoped and pre-audited. The plan fails early if the existing RG’s region does not match the deployment’s.
Verify the cluster
Section titled “Verify the cluster”Check each node reports ready and the cluster sees all its members. Readiness needs no token:
# 200 = ready to serve; 503 = still starting or joiningcurl -sk https://<node-ip>:8443/readyzTo check cluster membership over the API, capture a token first. Login sets the
JWT as an HttpOnly dtm_token cookie; capture it from the Set-Cookie header
and pass it as a bearer token:
TOKEN=$(curl -sk -X POST https://<node-ip>:8443/api/v1/auth/login \  -H "Content-Type: application/json" \  -d '{"username": "admin", "password": "<initial-password>"}' \  -D - -o /dev/null | grep -i '^set-cookie: dtm_token=' \  | sed -E 's/.*dtm_token=([^;]+).*/\1/')
# Every node should report "alive"curl -sk https://<node-ip>:8443/api/v1/nodes \  -H "Authorization: Bearer $TOKEN"
Then confirm DNS answers from a node:
dig @<node-ip> example.internal +shortNext steps
Section titled “Next steps”- Quickstart: create your first zone and record.
- Users and access: add administrators and set up Entra ID SSO.
- Adding nodes: scale the cluster out for more capacity or resilience.
- Observability: scrape metrics into Prometheus and import the Grafana dashboard.